Prefer listening over reading?
Click the play button below to listen to the audio version of this blog in the form of a podcast.
Reading time 4 min
Transform your precious memories into a wearable treasure with this expert-tested method used by jewelry professionals worldwide. We've got you covered with our Photo Service - our team of experts will adjust colors, sizes, and compositions in Photoshop before laminating them in waterproof plastic. But if you're feeling crafty, master these professional techniques yourself!
WHY STANDARD PHOTO APPS FALL SHORT
After years of crafting custom sterling silver lockets, I've discovered something crucial: not all heart lockets are created equal. Each pendant has unique proportions and subtle shape variations that make the difference between a perfect fit and a frustrating DIY disaster. While online photo editors provide excellent general heart-shaped templates, your specific locket's heart shape is likely different from any standardized template.
This is exactly why the adhesive tape template method is essential - it creates a perfect custom template matching your exact locket's interior dimensions, ensuring flawless results every time.
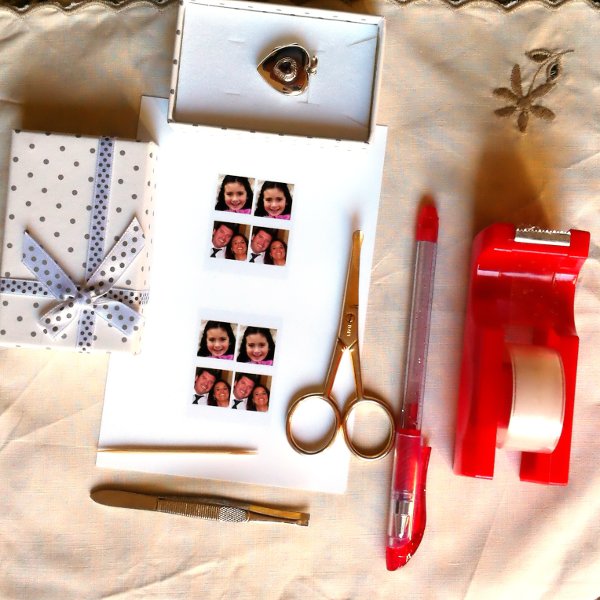
ESSENTIAL MATERIALS & TOOLS
For Template Creation: High-quality transparent plastic ruler, self-adhesive transparent book covering film (preferred) or premium clear packing tape, fine-tip permanent marker (yellow or red recommended), cotton swabs and rubbing alcohol.
For Cutting & Installation: Curved-tip small scissors, precision tweezers (non-serrated), wooden toothpicks, premium 4"x6" photo paper, and a quality printer.
Let's Master This Professional Method!
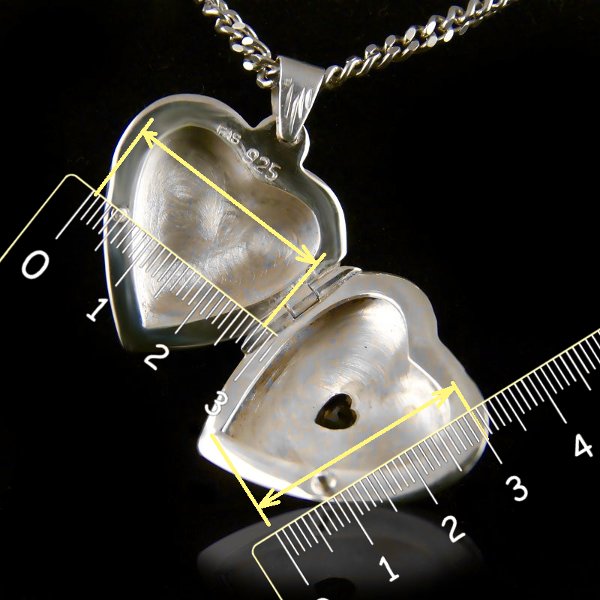
1. MASTER THE ART OF MEASUREMENT (It's More Complex Than You Think)
This is where most DIY attempts fail. Accurate measurement requires understanding three critical dimensions:
Primary Measurement - Maximum Width: Place your ruler across the widest internal point of your locket frame (typically across the upper lobes). Measure from absolute edge to edge, avoiding shadows or beveled edges.
Secondary Measurement - Maximum Height: Measure from the top center point straight down to the bottom point. This determines your photo's aspect ratio.
Critical Detail - Frame Assessment: Examine your frame edge - is it straight, beveled inward, or has a lip? This affects your cutting strategy.
Pro Tip: Take multiple measurements and use the smallest consistent reading. It's better to trim an oversized photo than stretch an undersized one.
2. PROFESSIONAL PHOTO PREPARATION
Based on your measurements, determine your optimal photo orientation. Our "Photo-cropper" tool provides an excellent starting point, but remember - you'll refine the exact shape with your custom template. This ensures compatibility with your specific locket's unique proportions.
Print Settings for Best Results: Use photo paper (never copy paper), set to "Actual Size" or "100%", print a black and white test first, and adjust brightness +10-15% as photos often print darker than screen display.
open_in_browser Follow this link to open Photo Cropper-Online Photo Editing Tool from ArsAura
3. CREATING YOUR CUSTOM HEART TEMPLATE (The Game-Changing Step)
Why This Step Is Crucial: Because every heart locket has slight variations in curve angles, proportions, and depth, a custom template ensures your photo fits your specific locket perfectly - not just "close enough."
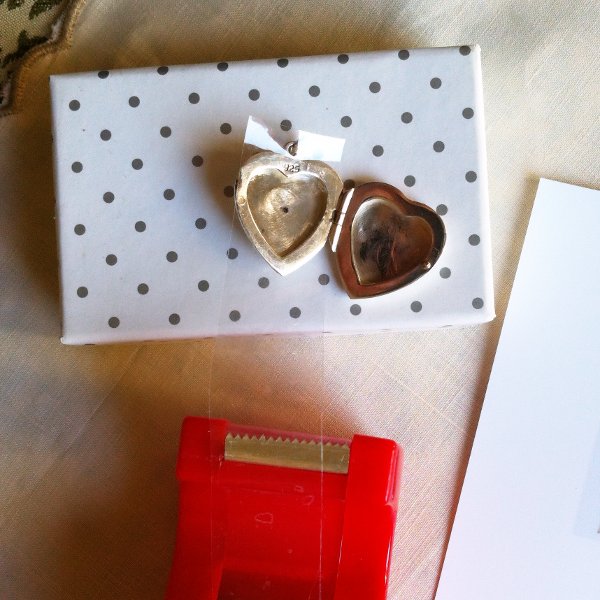
Surface Preparation: Clean your locket's interior with a dry cloth. Carefully cover the left side of the locket (without the catch) with tape, keeping it flat and avoiding pressure on the center.
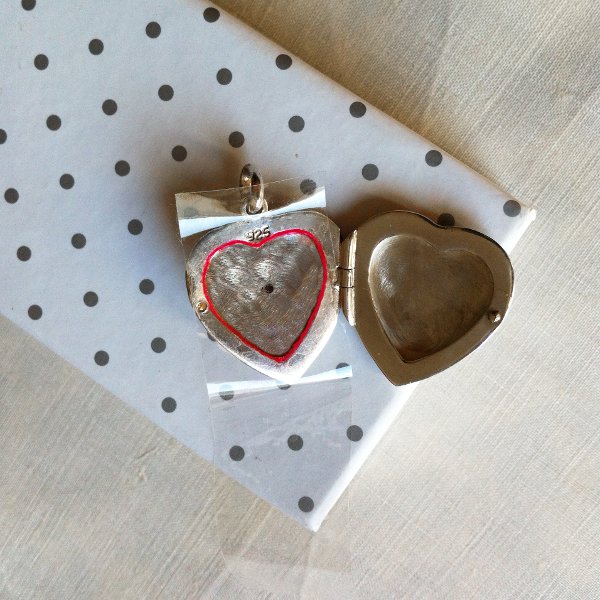
 Precise Tracing: Using your colored marker, trace the exact inner edge of the frame. Take your time - this line determines your final photo shape.
Template Removal Options (choose your preferred method):
- Method A (Recommended): Apply template directly to photo, then remove marker with alcohol-soaked cotton;
- Method B: Apply clean tape to the photo first, then template on top - remove template after cutting;
- Method C: For symmetrical frames only - use template on window backlight for tracing.
Choose the method that suits you best and apply the template tape to the photo, eliminating any air pockets.
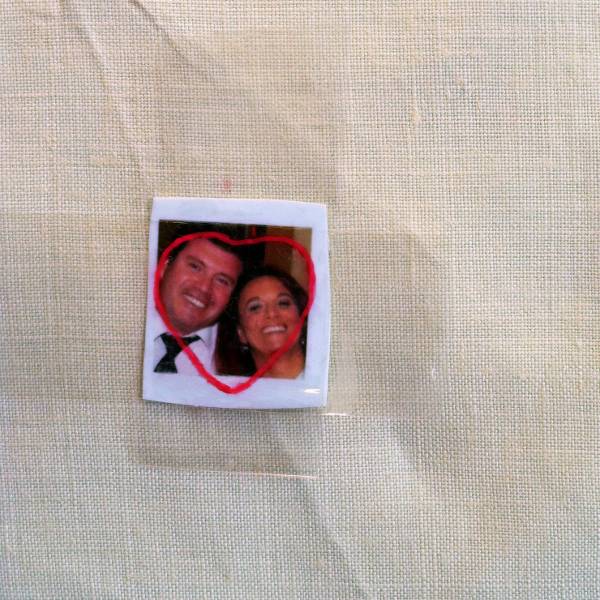

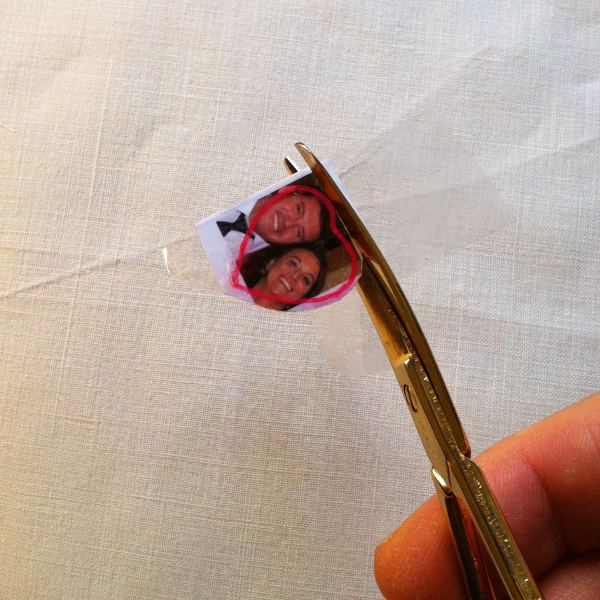
Expert Cutting Technique - The 1mm Rule: Cut approximately 1mm outside your traced line. This slight oversizing allows the photo to stay secure without adhesive and accommodates minor measurement variations. Before inserting, check if your locket's clasp interferes - if so, create a small 2-3mm triangular notch.
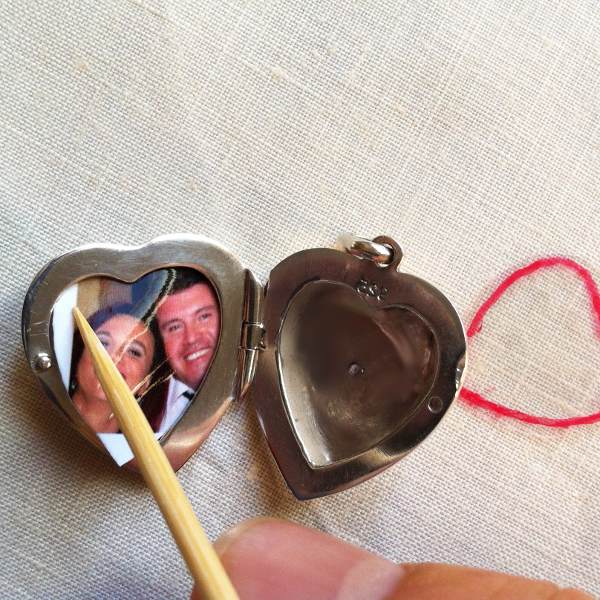
4. PROFESSIONAL INSTALLATION
Insertion Sequence: Start with the wider upper portion (heart lobes), gently bend and guide the photo into the frame, then use a toothpick to nudge the narrow bottom point into place. Never force it - if resistance occurs, trim 0.5mm at a time.
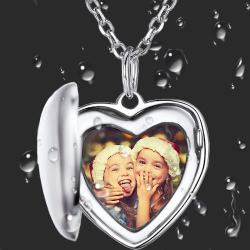
Optional Waterproofing: Seal photo edges with liquid silicone or natural beeswax for extra protection.
Professional Tip: Avoid permanent adhesives that make future photo changes impossible. If you must use adhesive, opt for special double-sided tape or transparent sticky silicone designed for photo albums.
Repeat the process with the other side of the locket, and voila! You now have a professionally crafted personalized treasure that will be cherished forever.
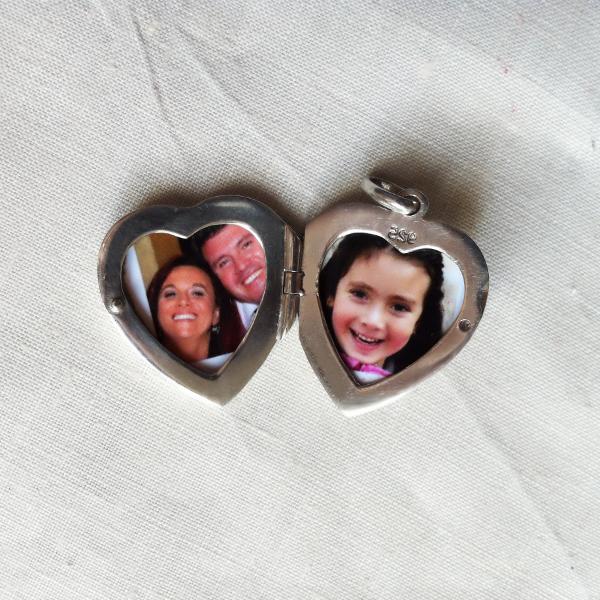
Why This Method Works for Every Locket: This technique succeeds because it adapts to your specific locket's unique characteristics rather than forcing a generic solution. Whether vintage, modern, wide, narrow, or with unusual proportions, the custom template method ensures perfect results every time.
This video is also very useful if you want to use a plastification machine to make your locket necklace photos waterproof:
For more professional tips and new locket creations please subscribe to our newsletter
or visit our YouTube, Instagram, Twitter, Pinterest, or Facebook page
Purchase any ArsAura handcrafted sterling silver locket and receive a professional discount on our expert photo installation service!


Need additional guidance? Feel free to contact our jewelry experts for personalized assistance.
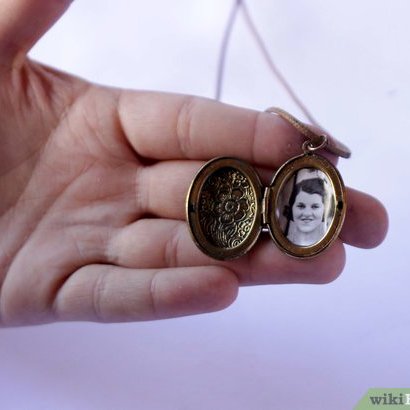
3 Ways to Put a Picture in a Locket from WikiHow